Thursday 19 September 2013

Bobbin Work

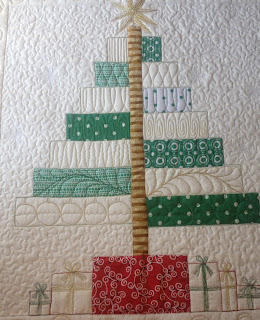
I recently made this wall hanging for a Quilt Challenge and I incorporated some 'bobbin work' to use metallic threads.  I just love the way it turned out.  This is an original design by moi and I wanted it to be distinctly modern in style.  I think I achieved it - what do you think?


 I did a class last year with Helen Godden at the AMQF (Australian Machine Quilting Festival).  She warned us that metallic threads are very difficult to work with and break very easily.  Also that it is very difficult to thread them through the sewing machine needle.  So the way to use them in a quilt is to use them in the bobbin.  Hence the term 'bobbin work'.  Because you don't have to thread a needle, you can use many different types of threads in a bobbin.  I have successfully used pearl cotton, metallic thread and even metallic cording.

 In order to do bobbin work you have to be able to adjust the tension of your bobbin case.  If you are worried about stuffing your bobbin case up, then I suggest getting an additional bobbin case to play with.  So the thicker the thread, the looser the bobbin tension.  Remember Lefty Lucy and Righty Tighty!  And when adjusting the bobbin tension, you want to do this in small increments (like turning 5 minutes on a clock face!)

You will have to wind the thread onto the bobbin by hand, which is ok to do, quite therapeutic! I have a bobbin winder, but cannot adjust the speed, so had to do this by hand.

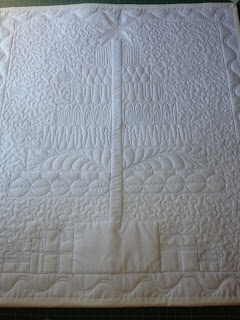
You will be sewing on the WRONG side of your piece - so draw your design or mark out the edges of the piece you are working on.  In the wall hanging above, I outline quilted in the ditch all the tree branches so I had a marking on the back. I then used this outline as my 'template' when I was doing the bobbin work.

For your top thread, you should choose a colour that is close to the bobbin thread.  In the example below I used a brown shade of thread in my top thread as the bobbin was wound with copper coloured cording.

If you can't use the bobbin case to adjust your tension, then you can use another technique called 'couching'.  There are useful techniques here and here. This technique allows you to use much thicker threads and even yarns.  This just adds a fun dimension to your quilts and opens you up to the wonderful world of quilt embellishments!

Have fun!

Yours in Quilting!


Wednesday 31 July 2013

Elmo Backpack

I have been making a few backpacks for my nieces for their birthdays, so I thought I'd share this as a tutorial with you all.  Hope you have much success.

Before we do this I just wanted to share with you how I join my scraps of batting.  This is very useful when you are making these kinds of smaller projects.

First I cut straight edges to my pieces of batting to make them similar lengths.  Then I but the two pieces together at the sewing machine and then use a zig-zag stitch to join them ensuring that the stitches catch both sides of the batting.  See the pictures below:

I use stitch No. 09 which is better than the straight zig-zag stitch (like 08) because it has many stitches across the seam and this helps to hold the seam flat and firm!  I am too stingy to buy batting tape!

Well now for Elmo.....

What you will need:
2 x 18" squares of RED fabric for the backpack
2 x 8" squares of RED fabric for Elmo's face
2 x 18" squares of lining fabric for the backpack
2 x 18" squares batting
2 x 8" squares of batting for Elmo's face - you may want to use something stiffer to make the flap firm.
50 cms of fabric for the lining
Scraps white fabric and batting for Elmo's eyes
Scraps of black fabric for Elmo's mouth and pupils
Small scrap of yellow/tan fabric for his nose and same amount of batting
2.2 meters or 90" of strapping
1.2 meters or 50 " of cording
4 D-rings which are the same size as your strapping.
Fusible web for appliqueing elmo's mouth to his face
Matching Thread for the backpack fabric, eyes and black thread for elmo's mouth.

 Print out the image on the left.  This gives you the measurements for the template that you need to make for yourself - you can use an A3 sheet of paper.

Next print out the image of Elmo's face below - if you print this on A4 and scale to fit, you should have the correct size

Lay out the 2 squares of Red Backpack fabric right sides together and pin the pattern on them and cut this out.
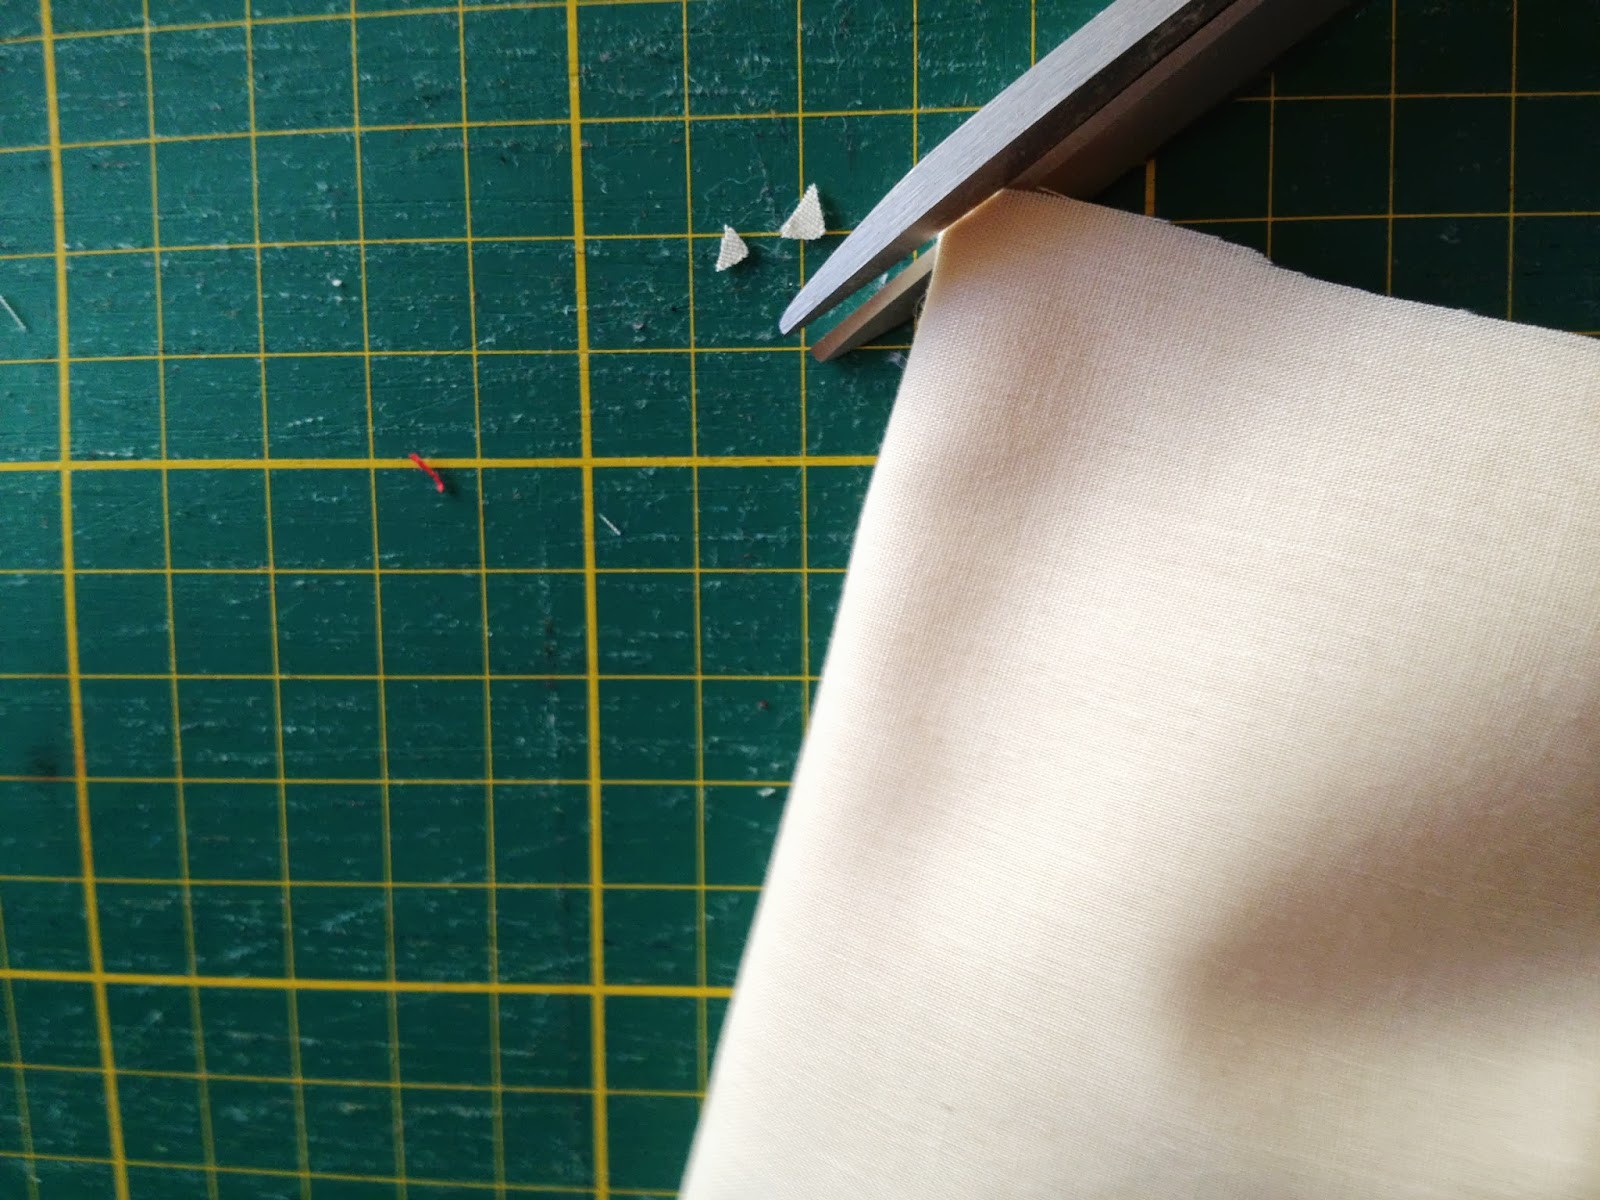
Once you have cut them out, remove the pattern and fold the piece lengthwise in half to mark the centre with a small snip like shown below.
Next repeat the process with the lining and the batting pieces.

Cut out 2 face shapes from the RED fabric with right sides together and cut out 1 face shape from the scrap of batting. Note the batting piece does not need the flap edge as shown. Fold the face pieces lengthwise so that you can find the middle and make the small snip on the folded edge.  These snips help with aligning all the pieces during bag assembly.

Cut Elmo's nose shape, you will need to make 2 from the yellow/tan fabric and 1 from the batting.
You will also need to cut out 4 x 2" (diameter) circles from the white fabric for Elmo's eyes and 2 circles of batting.  Also 2 small circles of black fabric which has been fused with webbing or interfacing on the back (wrong side) for the pupils of Elmo's eyes.  Cut 1 mouth shape from the black fabric that has been fused with interfacing on the back (wrong side).
OK, now we are ready to start sewing.
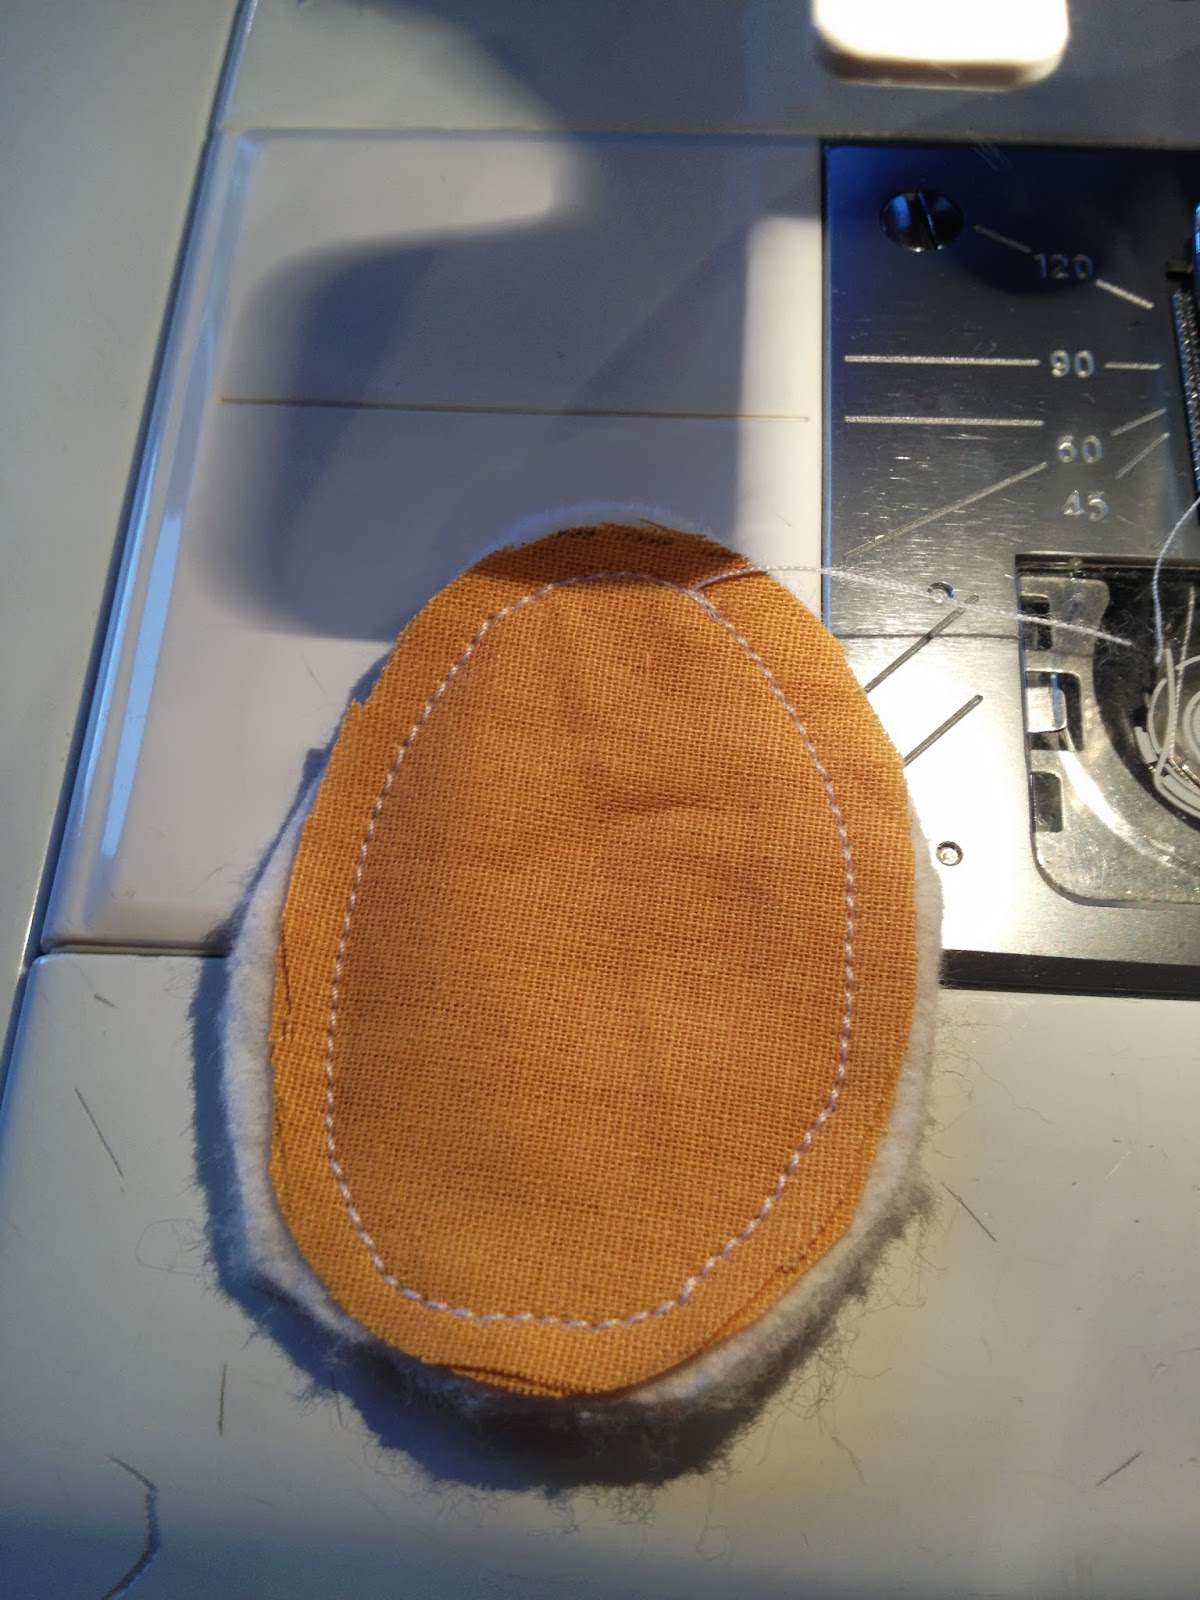
For the Nose: take the two yellow/tan pieces with wrong sides facing out and align the batting shape to it. Sew a small seam right around the piece as shown below.


Do the same with the white pairs of eye fabric and batting circles to give you 2 eyes. Clip around the sewn shape with small snips just to the sewing line.  This will assist in helping the curves when you flip these pieces onto their right sides.
Make a small slit in ONE side of the eye only.  Be very careful here because you do not want to slit right through all layers.  Use this slit to flip the circle out onto the right side thereby hiding the seams.  I find that if I make the slit from the center towards one side of the circle, this works out quite well.  Flip out both sets of eyes and the nose in the same way.  Then center the black pupils onto the eyes once they are facing the right side and sew this down with raw edge applique and BLACK thread.  I found it easier to glue the black circles first before sewing, this made sure that they didn't move.

Now attach the mouth piece to the right side of one of the face pieces.  You may need to add stabilizer to the back to ensure that it doesn't pucker like mine! Sew using a zig-zag stitch into the position shown in the picture. You can extend the stitching on the corners of the mouth by reducing the width of the zig-zag till they come to a point.  This just makes Elmo's smile bigger!
And this is what you end up with.
Now take the two pieces of Elmo's face with right sides together and the WRONG side facing up and align the batting piece to it.  Sew all around the edge of the face EXCEPT the top edge of the joining flap. Use a very small seam allowance as before. Trim the batting away as much as possible to reduce bulk. Again make small snips around the curved sections ensuring that you don't snip through your sewing. Turn Elmo's face to the right side.

Now for the main part of the bag.

Align the two lining pieces with right sides together and on the inside. Sew the long sides of the lining pieces using the seam allowance but leave a 3-4" gap on one side. Sew the bottom flap too.
Now 'box' the bottom flap and spread out the edges to match the side edge and then sew the new seam that is created as shown below. Do this on both sides.


Now align the batting piece to the WRONG side of the Red fabric pieces and pin these together. Take one side of the bag fabric and mark this as the back.  Cut 2 x 8" pieces of strapping.  Fold each piece in half and thread 2 D-rings onto them. 
Arrange these strapping pieces onto the right side of the bag as shown below and sew these in place using a very small seam allowance


Now align the two Red fabric pieces with right sides together and batting facing outwards and pin.  Sew the long side seams and the bottom flap piece. You do not have to leave the 3-4" gap this time.  "Box" the bottom like you did with the lining and sew the side seams of the bottom flap. Trim the batting close to the seam to remove bulk.


Now to assemble the bag.
Pin Elmo's face flap to the Back side of the bag ensuring that the right side of Elmo's face is against the right side of the back. Turn the bag lining so that the right side is facing outwards.  Insert this lining piece into the bag and align all the raw edges.  Use the nicks that we made in the beginning to help you align all pieces. Pin in place and sew the seam around the entire raw edge of the bag.  See picture below. Again clip away as much of the batting from the raw edge, close to the seam to remove bulk.
Using the opening in the lining turn the bag to the right side.  Arrange the lining inside the bag and finger press the top edge so that the seam sits correctly.  Pin the lining to the bag and now sew the Cord channel as shown in the Bag Diagram.  Remember this channel has to accommodate 2 lengths of cording, so don't make this channel to skinny! (something I have learnt the hard way!). Sew the opening in the lining closed.

Take the remaining strapping and fold it in half.  Align this folded edge to the center of the top edge of the back of the bag (as shown in the bag diagram). Using the folded edge of the strapping, measure 2-3" from the top of the fold and open this out so that it lays flat.  Sew a seam across this flattened strapping as shown in the picture below.  This forms the loop for the backpack to hang.  Neaten the edges of the strapping by folding them over and sewing a small seam.  Then thread these ends through the D-rings as shown
We are nearly there!
Attach Elmo's eyes and nose by sewing the underside of these pieces to the face. Ensure that you hide the 'slits' that you made for turning. Unpick the side seams of both sides of the cord channel and thread through the cord in opposite directions. Make knots in the cord so that it doesn't come undone or accidentally be pulled through.

And Viola! your Elmo backpack is ready to be given to someone special. (or kept for yourself).
This backpack is entire washable too so it would be fine if you found the odd decaying fruit from an old school lunch!

Let me know how your backpack turned out. Give me some feedback of any other items you may want to see on this blog.

Until next time.....

Yours in Quilting.

Vanita


Tuesday 12 February 2013

Chenille Applique Baby Cot Quilt


QAL – (Faux) Chenille - Applique.


This is yet another application for Chenille –it makes a lovely outline for your appliqué.  This is great for baby quilts as it creates a really tactile quilt which babies love to play on.

Today we will work on making this cot quilt.

What you need to start:

·         Fabric scraps to for your appliqué shapes

·         Larger fabric squares for your chenille strips (contrasting fabrics work best)

·         Vliesoflix or double sided fusible webbing

·         Thread  (neutral or strong contrast to top fabric)

·         Scissors

·         Temp. Marking pens/pencils

·         Ruler

(I used a lot of my scraps to make this quilt.  The background squares are 10.5" so they will finish at 10".)

I drew some simple shapes on paper and then traced it on double sided fusible webbing.  I then fused this onto the background blocks as below.


Outline your applique shapes with a line of stitching close to the edge (raw edge applique). This holds the fabric in place. You don’t have to be overly accurate.


Take your chenille fabric and fold it diagonally and then give it a light press.  


  These are the fabrics I chose for my Chenille strips.

As with the previous Faux Chenille tutorial, mark out your lines ½” from the folded edge of the fabric.  Do this for all the chenille fabric squares. You don’t need to mark out the whole width of the fabric, just a few rows to give you enough chenille strips.  Sew these lines as with the previous Chenlle QAL.


Now you will need to cut out your chenille strips. I use the sewn line as my mark to make sure that I cut 1/4” from the edge of the sewn line. (You will be slicing off the folded edge).


Cut a few strips from each fabric.    


Now sew these strips onto the edge of your applique shapes.  

NOTE: I did all the embroidery for the antennae and lady bug 'spots' before I attached the chenille strips. I did this so that the edges of the embroidery would be under the chenille strips - just a personal preference - you don't need to do this.

Make sure you have sufficient overlap on the start and end of the strip. This also applies if you were using smaller bits of chenille strips. Pay attention to the strips that are going to be over or under and sew the 'under' ones first.  See pictures below.
Ensure that you lock your stitching both at the start and the end of the seam. This is really important because you will be rubbing these strips with a really stiff brush, to 'fluff' them up and you want them to stay put.


Make sure that there is sufficient overlap so that no gaps appear in your ‘fluffed’ chenille.


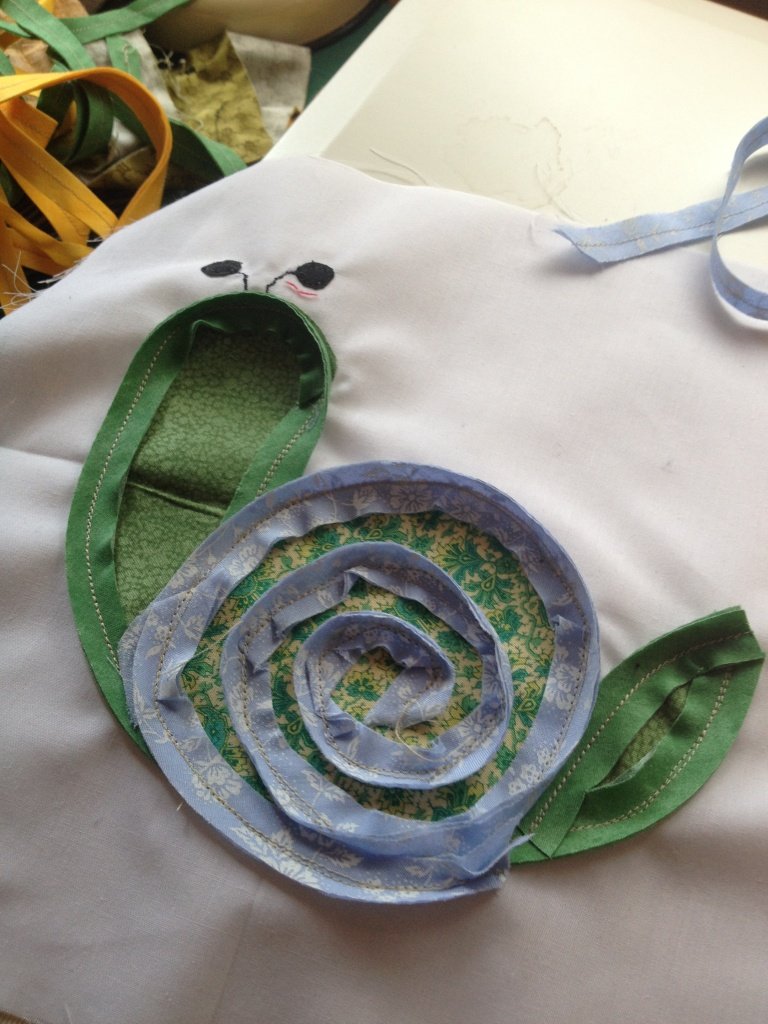
You can use the chenille strips to create a spiral like I have for the snail’s shell below


And this is what it looks like with all the blocks sewn together. 


Now you are ready to apply some elbow grease and rub the chenille strips with a really stiff brush.  This takes some effort, but you end up with lovely, soft, fluffy edges.   What kid wouldn’t like to play with the soft chenille edges.


 I used 3" strips to outline the center blocks and then added borders. I did a simple quilt in the ditch on all the blocks and borders. I then outlined the applique shapes with an echo using free motion quilting.  I outlined the letters to spell B A B Y on alternate blocks using free motion  quilting.  A neat way to do this is to print out the individual letters (I had to increase it to 500% in the font I chose) and then cut out the shapes.  I then outlined these shapes with an air erasable marker and this gave me a great outline to quilt the alphabets. 

And this is what the finished quilt looks like. I think it looks pretty neat!


I hope you've enjoyed this Chenille Tutorial. Don't forget to post up your pictures of your own version of this quilt, I'd love to see them.

Till next time....

Yours in quilting