
Before we do this I just wanted to share with you how I join my scraps of batting. This is very useful when you are making these kinds of smaller projects.
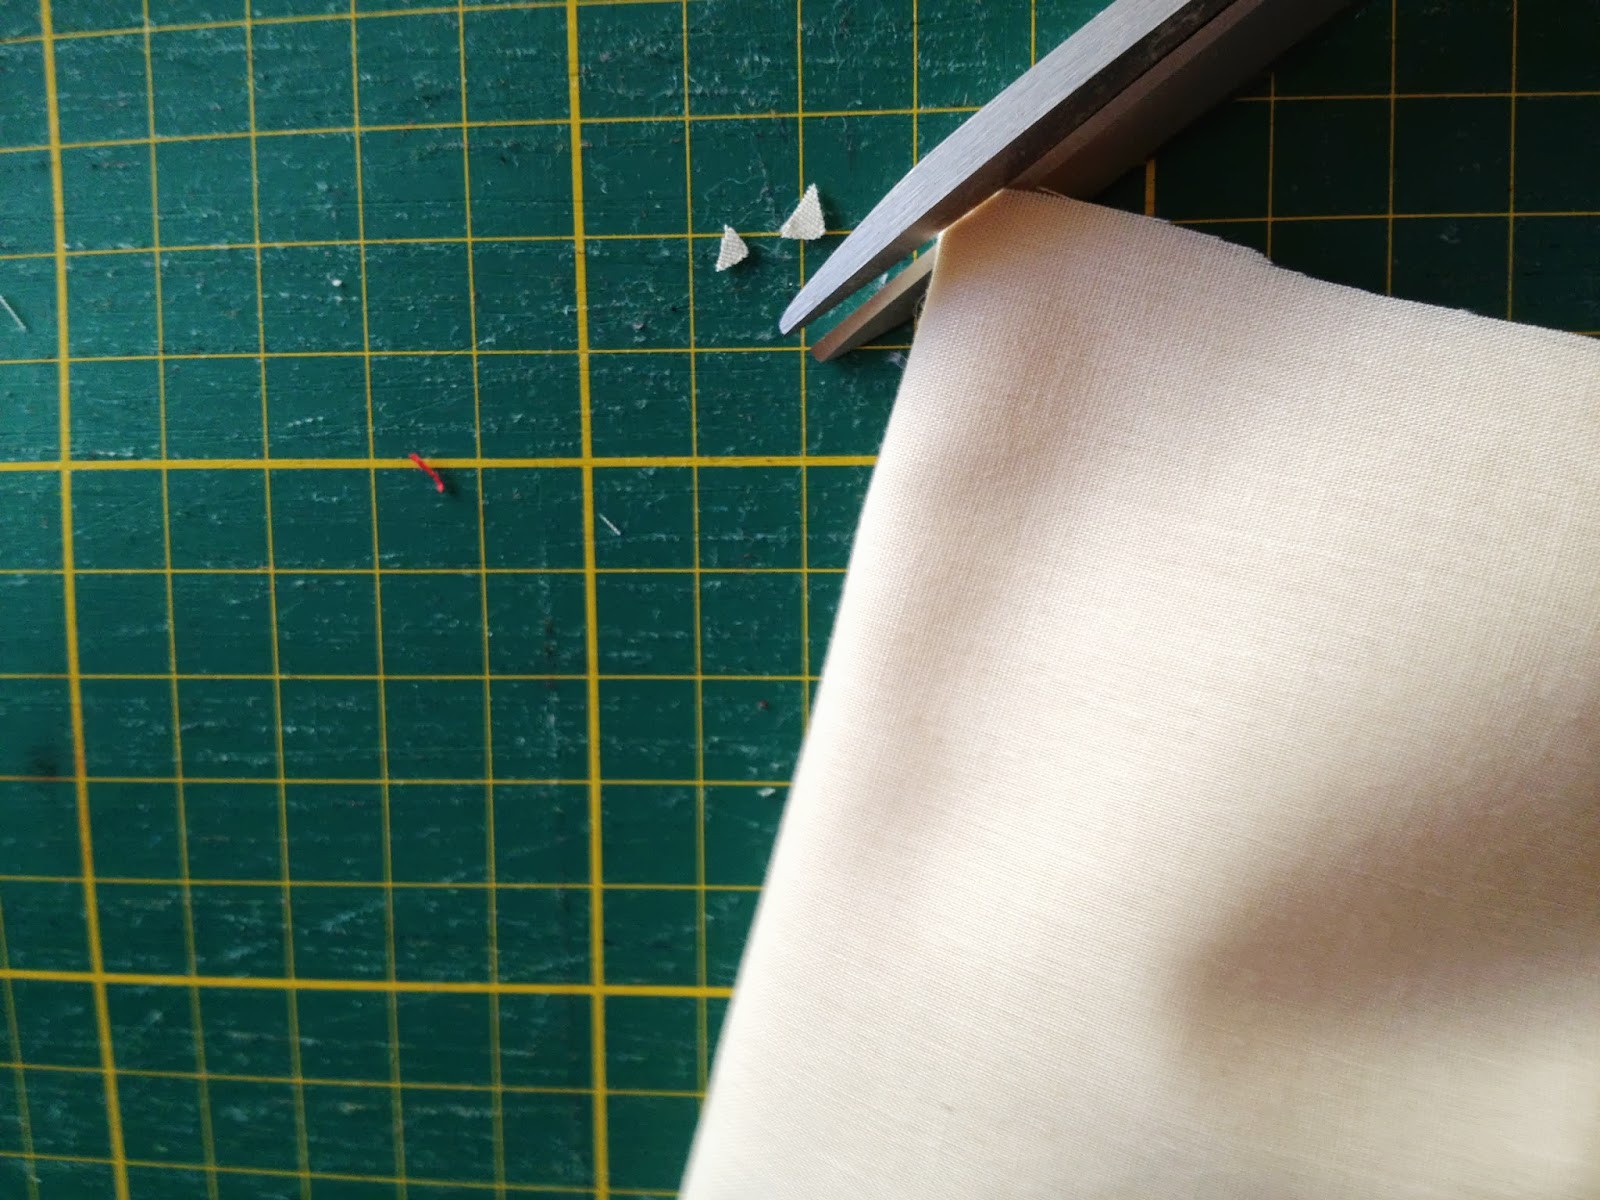
First I cut straight edges to my pieces of batting to make them similar lengths. Then I but the two pieces together at the sewing machine and then use a zig-zag stitch to join them ensuring that the stitches catch both sides of the batting. See the pictures below:


I use stitch No. 09 which is better than the straight zig-zag stitch (like 08) because it has many stitches across the seam and this helps to hold the seam flat and firm! I am too stingy to buy batting tape!
Well now for Elmo.....
What you will need:
2 x 18" squares of RED fabric for the backpack
2 x 8" squares of RED fabric for Elmo's face
2 x 18" squares of lining fabric for the backpack
2 x 18" squares batting
2 x 8" squares of batting for Elmo's face - you may want to use something stiffer to make the flap firm.
50 cms of fabric for the lining
Scraps white fabric and batting for Elmo's eyes
Scraps of black fabric for Elmo's mouth and pupils
Small scrap of yellow/tan fabric for his nose and same amount of batting
2.2 meters or 90" of strapping
1.2 meters or 50 " of cording
4 D-rings which are the same size as your strapping.
Fusible web for appliqueing elmo's mouth to his face
Matching Thread for the backpack fabric, eyes and black thread for elmo's mouth.

Next print out the image of Elmo's face below - if you print this on A4 and scale to fit, you should have the correct size

Lay out the 2 squares of Red Backpack fabric right sides together and pin the pattern on them and cut this out.

Once you have cut them out, remove the pattern and fold the piece lengthwise in half to mark the centre with a small snip like shown below.

Next repeat the process with the lining and the batting pieces.

Cut out 2 face shapes from the RED fabric with right sides together and cut out 1 face shape from the scrap of batting. Note the batting piece does not need the flap edge as shown. Fold the face pieces lengthwise so that you can find the middle and make the small snip on the folded edge. These snips help with aligning all the pieces during bag assembly.

Cut Elmo's nose shape, you will need to make 2 from the yellow/tan fabric and 1 from the batting.

You will also need to cut out 4 x 2" (diameter) circles from the white fabric for Elmo's eyes and 2 circles of batting. Also 2 small circles of black fabric which has been fused with webbing or interfacing on the back (wrong side) for the pupils of Elmo's eyes. Cut 1 mouth shape from the black fabric that has been fused with interfacing on the back (wrong side).

OK, now we are ready to start sewing.
For the Nose: take the two yellow/tan pieces with wrong sides facing out and align the batting shape to it. Sew a small seam right around the piece as shown below.

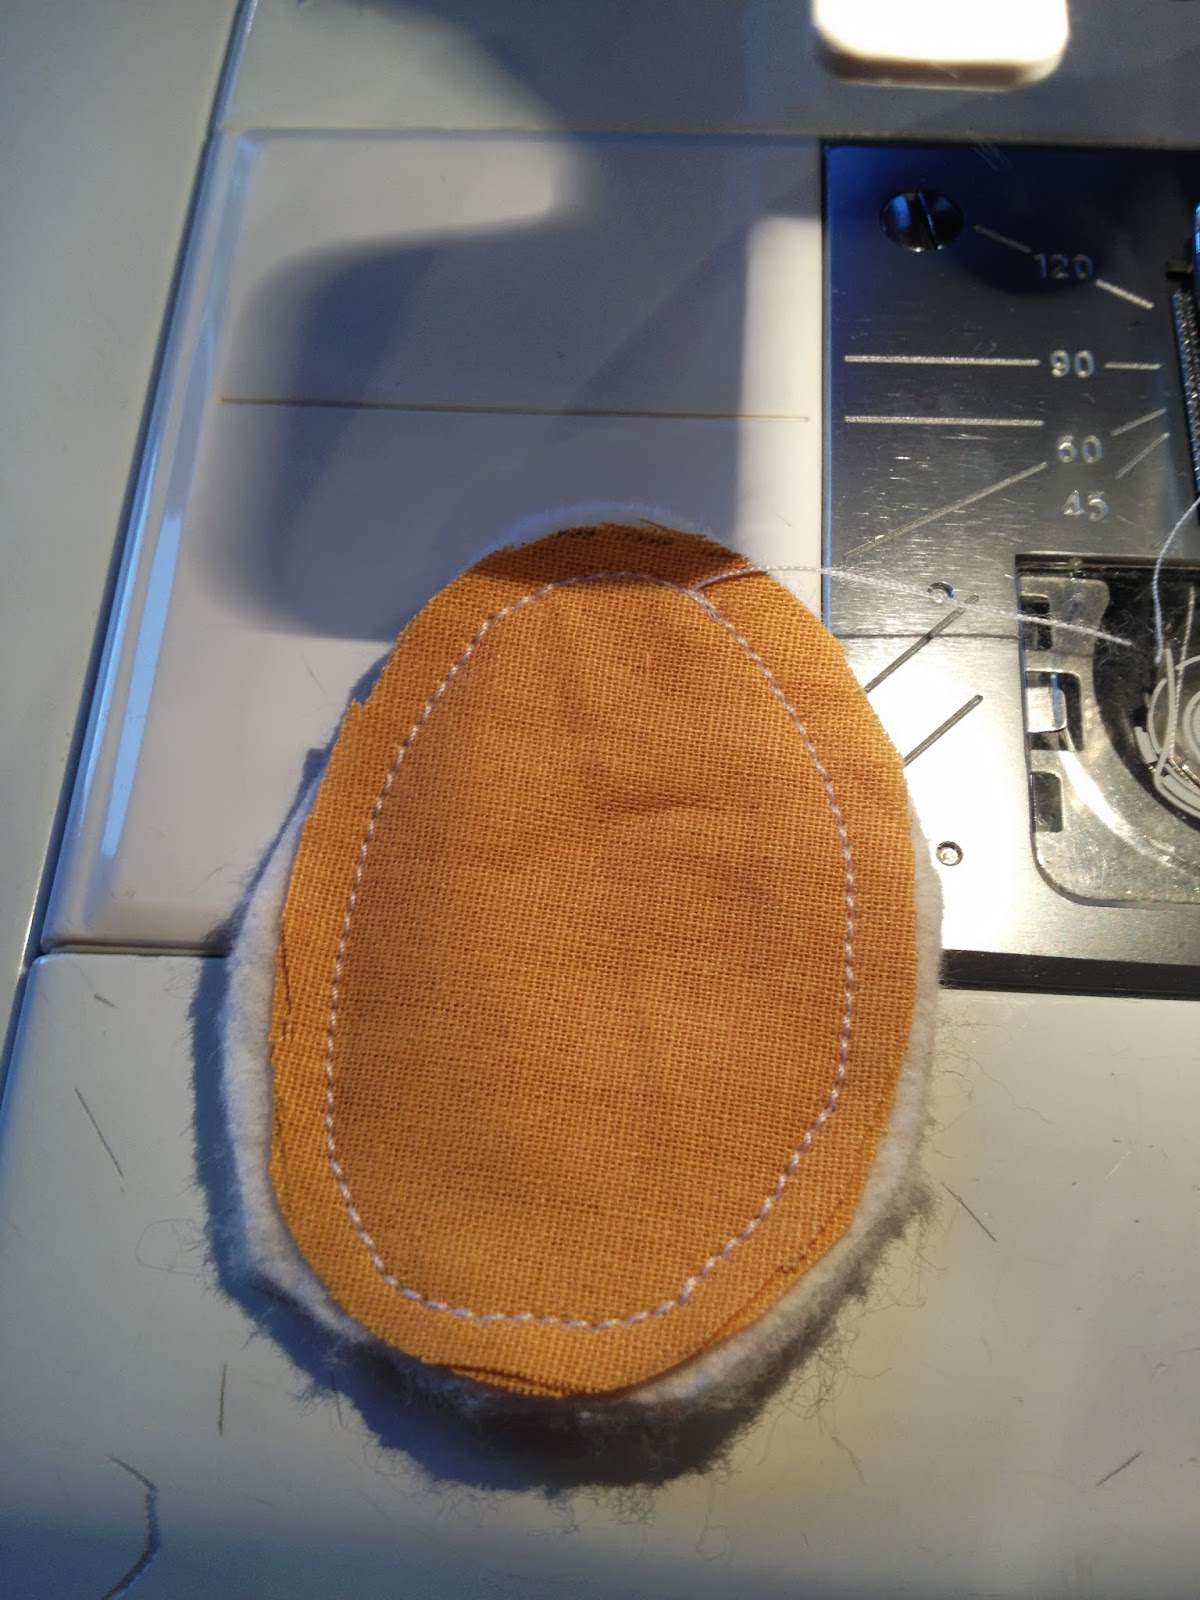
Do the same with the white pairs of eye fabric and batting circles to give you 2 eyes. Clip around the sewn shape with small snips just to the sewing line. This will assist in helping the curves when you flip these pieces onto their right sides.

Make a small slit in ONE side of the eye only. Be very careful here because you do not want to slit right through all layers. Use this slit to flip the circle out onto the right side thereby hiding the seams. I find that if I make the slit from the center towards one side of the circle, this works out quite well. Flip out both sets of eyes and the nose in the same way. Then center the black pupils onto the eyes once they are facing the right side and sew this down with raw edge applique and BLACK thread. I found it easier to glue the black circles first before sewing, this made sure that they didn't move.

Now attach the mouth piece to the right side of one of the face pieces. You may need to add stabilizer to the back to ensure that it doesn't pucker like mine! Sew using a zig-zag stitch into the position shown in the picture. You can extend the stitching on the corners of the mouth by reducing the width of the zig-zag till they come to a point. This just makes Elmo's smile bigger!

And this is what you end up with.

Now take the two pieces of Elmo's face with right sides together and the WRONG side facing up and align the batting piece to it. Sew all around the edge of the face EXCEPT the top edge of the joining flap. Use a very small seam allowance as before. Trim the batting away as much as possible to reduce bulk. Again make small snips around the curved sections ensuring that you don't snip through your sewing. Turn Elmo's face to the right side.
Now for the main part of the bag.
Align the two lining pieces with right sides together and on the inside. Sew the long sides of the lining pieces using the seam allowance but leave a 3-4" gap on one side. Sew the bottom flap too.

Now 'box' the bottom flap and spread out the edges to match the side edge and then sew the new seam that is created as shown below. Do this on both sides.


Now align the batting piece to the WRONG side of the Red fabric pieces and pin these together. Take one side of the bag fabric and mark this as the back. Cut 2 x 8" pieces of strapping. Fold each piece in half and thread 2 D-rings onto them.

Arrange these strapping pieces onto the right side of the bag as shown below and sew these in place using a very small seam allowance


Now align the two Red fabric pieces with right sides together and batting facing outwards and pin. Sew the long side seams and the bottom flap piece. You do not have to leave the 3-4" gap this time. "Box" the bottom like you did with the lining and sew the side seams of the bottom flap. Trim the batting close to the seam to remove bulk.


Now to assemble the bag.
Pin Elmo's face flap to the Back side of the bag ensuring that the right side of Elmo's face is against the right side of the back. Turn the bag lining so that the right side is facing outwards. Insert this lining piece into the bag and align all the raw edges. Use the nicks that we made in the beginning to help you align all pieces. Pin in place and sew the seam around the entire raw edge of the bag. See picture below. Again clip away as much of the batting from the raw edge, close to the seam to remove bulk.

Take the remaining strapping and fold it in half. Align this folded edge to the center of the top edge of the back of the bag (as shown in the bag diagram). Using the folded edge of the strapping, measure 2-3" from the top of the fold and open this out so that it lays flat. Sew a seam across this flattened strapping as shown in the picture below. This forms the loop for the backpack to hang. Neaten the edges of the strapping by folding them over and sewing a small seam. Then thread these ends through the D-rings as shown

Attach Elmo's eyes and nose by sewing the underside of these pieces to the face. Ensure that you hide the 'slits' that you made for turning. Unpick the side seams of both sides of the cord channel and thread through the cord in opposite directions. Make knots in the cord so that it doesn't come undone or accidentally be pulled through.
And Viola! your Elmo backpack is ready to be given to someone special. (or kept for yourself).
This backpack is entire washable too so it would be fine if you found the odd decaying fruit from an old school lunch!
Let me know how your backpack turned out. Give me some feedback of any other items you may want to see on this blog.
Until next time.....
Yours in Quilting.
Vanita
